Super Sweet Blogging Award

Standard

super-sweet-bloggingI have been awfully slack of late but just wanted to say a big thankyou to Rainbow Junkie for nominating me for the Super Sweet Blogging Award which was a Super Sweet thing to do! For those of you who don’t know Ms Rainbow has a lovely colourful blog on crochet as well as many other colourful things – go have a look at what she’s been up to!

THE RULES:

Copy & Paste This Whole Post and Replace All Your Information — who awarded you, for example.

(I am presuming that the important bit to copy is this below.)

Thank the Super Sweet Blogger that nominated you. (Done)
Answer 5 Super Sweet questions. (See below)
Include the Super Sweet Blogging Award in your blog post. (Done)
Nominate a baker’s dozen (13) other deserving bloggers. (See below)
Notify your Super Sweet nominees on their blog. (I will!)

THE 5 SUPER SWEET QUESTIONS:

1 – Cookies or Cake? Cake!

2 – Chocolate or Vanilla? Vanilla!

3 – Favorite Sweet Treat? Milk chocolate

4 – When Do You Crave Sweet Things The Most? Any time after lunch!

5 – Sweet Nick Name? Never really had one although I do get called “Crafty” from time to time these days lol!

And here’s my Baker’s Dozen:

My Home Makes
Projects by Mtetar
SusieDDesigns
Gippsland Granny
Creative Pixie
California Pixie (A special thanks to California Pixie for being the inspiration for Terrarium experiment)! You can see her fabulous creation here
Deep in the Heart of Textiles
Occasional Crafter
Schmoozelfleugen
Ruthie Quilts and Quilts!
Kirsten Jane
Pretty Lady Baby
Nice Piece of Work

And just to be really “sweet” I wanted to share with you the gorgeous crocheted slippers I ordered from the Super sweet Jill Goldberg (Nice Piece of Work) above!

Crochet slippers from Etsy store - Jam Tarts

Crochet slippers from Etsy store – Jam Tarts

Terrarium time!

Standard

I don’t know why exactly but I had a strong urge to make a terrarium today! I’m not particularly known for my horticultural skills but having seen some rather lovely examples on Pinterest, I decided it was time to give it a bit of a go. I went to the local Dollar King and bought myself a small fish bowl, a little bag of stones and I was all set.

And here is the result:

20130929_174554

The plants were all bits and pieces I got from our own garden and I’m hoping the sedum will grow and spread out a little but all in all I was pretty happy with it. I think actually I want to make some more!
20130929_174606

On another flowery topic, I was given the task of pricing up some items for the upcoming market at the Pioneer Church. I was given two enormous soup mugs and rather than just stick a price on them and hope that they sell I decided to play with some artificial flowers that had been sitting there doing nothing to see if we could jazz them up a bit. Here they are post jazzing!
20130929_17491520130929_17485620130929_174728


So there we have it, I have been absent for so long (and have missed my little blog and bloggy friends) but as Spring is definitely under way in this part of the world, I thought it might not be a bad idea to do something sufficiently Springy!

The Portsea Retreat

Standard

I wanted to share some photos from a recent retreat I went on down at sunny Portsea on the Mornington Peninsula, Victoria. It is an old school camp that was set up in the 1940’s for under-priveleged children so that they could have a sea-side holiday and various health checks from doctors and dentists while they were there. These days it is hired out to various groups and although accommodation is somewhat basic, it is a great opportunity for crafty ladies to get together and create (with the added advantage of not having to cook or wash up all weekend!! Yay).

A hive of industry

A hive of industry

Some 'mad cow' friends

Some ‘mad cow’ friends


While I was there I had the chance to set up a mini-shop and and the Bali Pop (jelly rolls) were selling like hot cakes!
The Crafty Pioneer mini-shop

The Crafty Pioneer mini-shop

A couple of ladies were so keen to put the purchases to good use that they made up there jelly rolls and had a quilt top within a couple of hours!

Speedy jelly roll quilt!

Speedy jelly roll quilt!

Christmas Stocking Project

Standard

Christmas stocking after first session

Christmas stocking after first session


I know this probably feels all wrong to most of you but here in wintry Melbourne (I actually had to scrape ice of the windscreen the other morning)! It feels like just the right time of year for me to be making a Christmas project and this one is so much fun. It is a Christmas stocking called My Favorite Things and it is by Kerry Gillespie. You can order it here if you would like one too.

I got together with my Mad Cow buddies on Saturday in one of the girls’ houses and she had set it up so beautifully with two tables for us to work on and a tea and coffee-making table (I told her it looked just like a conference centre)!

Initially when we got the pattern, we were all a little daunted (well I was anyway) as it required cutting out the fabric, tracing the design on and then painting before any stitching could take place. With all of us together though, it no longer seemed as daunting and with a great flurry of activity it wasn’t long before we were painting on our fabric stockings – it was amazing how quiet we all were (obviously all too busy concentrating to talk).

Lunchtime came and we were treated to the amazing cooking abilities of our host’s hubbie with homemade gyoza (Japanese dumplings) Chinese style duck pancakes and mini chicken and leek pies – of course we all ate too much as it was far too hard to resist and it would have been rude not to!

By 4pm when it was time to pack away our paints we were all amazed at how much we had managed to accomplish and were keen to make a date for a follow-up session. So I will keep you updated on how our stockings progress and hopefully it will be done before Santa comes hurtling down our chimneys!

Close-up

Close-up


2013-06-24 16.07.46
I include this last photo because it was the bit that went most wrong! I am hoping to somehow rescue it as we go along. This is what comes of being impatient and trying to add paint to sections that haven’t dried properly! What do they say about learning from mistakes?!
2013-06-24 16.08.03

The Zen of sketching

Standard

Fiona's legs

Fiona’s legs

I had a very enjoyable visit to my blogging friend Eleanor at KnitNell today and I was so taken with her post “I wish I could draw….” Part 2 that I decided to do my own little piece on the same subject. Eleanor gives a whole series of pointers in starting to sketch and I would agree with every one of them.

Let me just make it clear that I haven’t done any sketching for a few years now but reading her article brought back to me how much joy sketching can bring and all the angst that comes up when you talk to people about drawing. I have heard it countless times and to be honest I used to say the same things myself….. “I don’t have the talent”, “you’re either born with it or you’re not” “I can only draw stick people” etc. etc. The truth is that while there are those who have natural talent and need no coaching in how to create wonderful pieces of art, the vast majority of us need a bit more help and encouragement.

The first revelation I learned (in my 30’s) was that sketching is a skill and it can be learned! How exciting. As my teacher said: “you weren’t born knowing how to drive a car – it was a skill that was taught to you and it was only after much practice that you got good at it”. I still wasn’t convinced of course and I think that that was largely due to the internal critic playing in my head. You know the one that says things like: “well thats a load of rubbish isn’t it?” “You’re never going to get any better at this – might as well give up” etc. etc. At this point most of us will give up – hide our shameful attempts from view and avoid ridicule from others at all costs.

Pine cone

Pine cone

This is the point where the right teacher or creative confidante can make all the difference. Someone who you can trust enough to share your artistic endeavours without fear of judgement or ridicule. Someone who will give words of encouragement and honest feedback (notice I don’t use the word praise here because whilst we all enjoy a bit of praise there isn’t much to be gained from someone giving you “oh its lovely” all the time).

I am sharing some sketches from my sketchbook from several years ago in the hope that you will see perfection is not the aim! Rather, it is about making marks on paper that have meaning to you, no one else. Marks on paper can not be deemed ‘good’ or ‘bad’ they are simply marks (very zen I know).

2013-05-05 14.20.19

Another very ‘zen’ thing about sketching is the meditative state you enter into – this is probably the thing I miss most about it: the losing sense of time and yet being wholly present and soaking up the sights, sounds, smells so that forever more when you look at that sketch, everything about that time will come back to you in an instant.

The sketch (left) was of a little boy playing on the beach at Ricketts Point in January 2004 – when I look at it I can still remember it like it was yesterday. I am pretty certain that a photo of the same scene would not give me the same emotional connection.

The other great thing about a sketchbook is doodling. Whatever craft you are into, doodling is a fantastic way to keep new ideas rolling and Laurie at Inbox Jaunt makes absolutely brilliant use of her doodles in her quilting designs.

A bit of doodling never hurt anyone!

A bit of doodling never hurt anyone!

Another fun exercise (particularly if you’re not in the mood for taking the sketchbook out) is to take a photo from a magazine (see below) and extend it either with pencil or paint – in other words just have some fun and make your mark!

2013-05-05 14.21.20
2013-05-05 14.21.09

I would love to hear what you’re own experiences are with sketching and whether or not you have ever been daunted by the blank page.

Weekly photo challenge: Culture

Standard

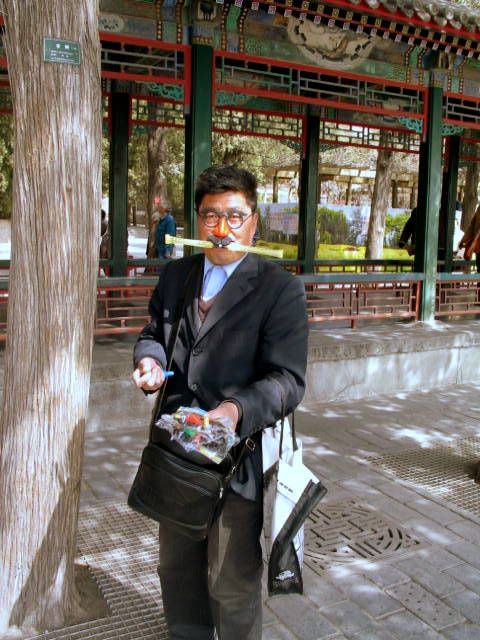
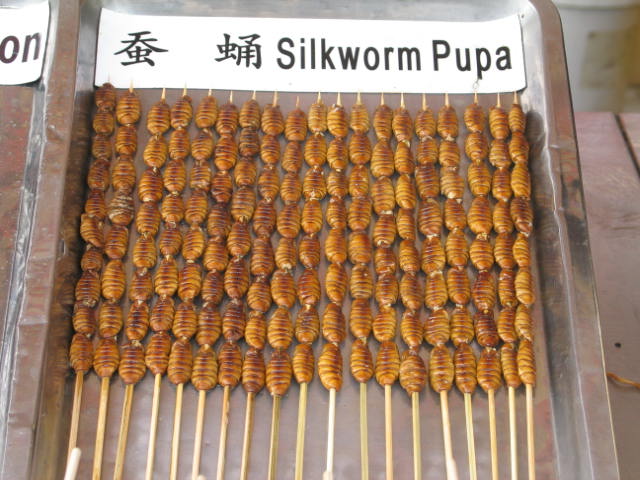
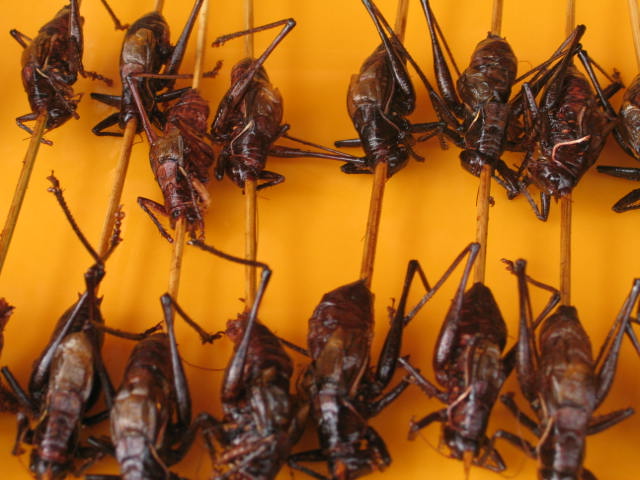
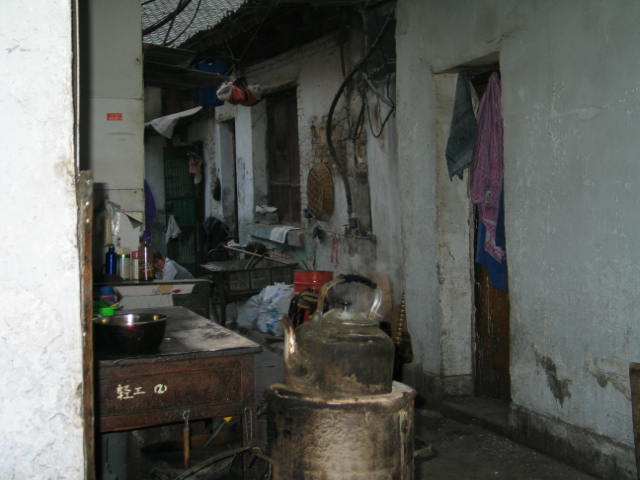
I don’t usually do the weekly photo challenge and I have an awful feeling I may be a day late in submitting but oh well I thought it would be a good excuse to share some of the shots we took in China in 2011. It really was a bit of a culture shock, mainly because none of us could speak or read Chinese and we found that very few people could speak English so our miming skills picked up enormously! Also travelling anywhere with two teenagers (unable to access Facebook) who would rather be anywhere else in the world than with their parents is a joy that is hard to put into words!

IMG_4821

IMG_4851

IMG_4836
IMG_4839
IMG_4841
IMG_4849
IMG_4853

Jelly roll tube tutorial

Standard

I came across a great tutorial the other day on youtube by Misouri Quilters and thought I would give it a whirl as I have had a Kaffe Fassett jelly roll sitting there looking at me for far too long! The thing I like about this method is that you only have to sew two long seams and then because of the way you cut it, you have a variety of different effects you can create.

First of all you take two strips from your jelly roll and then sew them together, length ways (right sides facing).

two jelly roll strips

two jelly roll strips


Sew them together

Sew them together


Make sure you iron the seam flat (towards the darker fabric).

Now you need another piece of fabric that is the same width of the two jelly roll pieces sewn together ie. 4.5″ x width of bolt. I had some batik fabrics left over from another project and so decided to try that out.

4.5" x width of bolt strip

4.5″ x width of bolt strip


Now for the tube part:

Lay your 4.5″ strip of fabric on top of the other two strips (right sides facing)

Lay them on top of each other

Lay them on top of each other


Then sew a quarter inch seam down both lengths of the fabric – thus creating your tube!

Quarter inch seam down both sides

Quarter inch seam down both sides

Now you need a large square ruler (I used a 12.5″) with a 45 deg angle marked on it and you need to place the line of the 45 deg angle on top of your seam line as in the picture below:

45 deg line is on top of seam line

45 deg line is on top of seam line

Make your cut
2013-04-22 18.21.38

Keeping the edge of your ruler against the edge of the fabric you just slide it down so that the 45 deg angle line is sitting on top of the other seam line:
2013-04-22 18.22.55

Make your cut and then slide back to the other seam line:
2013-04-22 18.24.13

Keep going in this way until you get to the other end.

Now for the fun part. Open up and iron your resulting squares flat and then ….. time to play!
2013-04-22 18.44.30

2013-04-22 18.48.03

Daily Prompt: Menagerie

Standard

Do you have animals in your life? If yes, what do they mean to you? If no, why have you opted not to?

In 2010 a momentous decision was made…. to get a dog! What a momentous decision it was and I have to admit I had a few sleepless nights and several bouts of cold feet before the little 4 legged friend arrived!

For me, it was a harder decision than the one to have children believe it or not, probably because I always knew I wanted them! A dog however was a different prospect – I had never grown up with one and felt it was such a huge responsibility – the walking, picking up poo, training, finding someone to look after them when you go on holiday etc. etc. and I also knew that no matter how many promises were made by the children, ultimately the main responsibility would come down to me.

Well the day came and we brought the little guy home – named him Goober after a character in Sponge Bob Square Pants (not my idea obviously)! And here he is on his arrival:

New member of the family

New member of the family

Just the right size for a Viszla

Just the right size for a Viszla

Vizsla cuddle

Vizsla cuddle

Of course we all fell instantly in love with him and he gradually took over the whole household and now he is like the central point of affection for everyone in the house. He keeps me fit by insisting I walk him every day and has a way of making all members of the household happier.

There again any chair can be made to fit!

There again any chair can be made to fit!

I can’t say he’s one for dressing up but when he’s asleep, well thats a different story….

2012-02-10 22.34.35
Image0073

Image0136
And when it comes to Christmas he really likes to get into the spirit of things!

It really is hard to imagine life before we had him now and I have become one of those people I never imagined I would become… you know those annoying ones who talk about their dog all the time!

Cats and Aprons

Standard

At last the temperatures have come down to something a lot more comfortable in Melbourne but I have to admit that I had a serious case of brain-melt earlier in the week and found the idea of making anything quite a struggle.

However I did manage a couple of minor achievements so I thought I would share.

First of all I have had a bit of a hankering for making a quick and easy apron and when a friend told me that you could make an apron from ONE fat quarter I couldn’t wait to have a go and found this rather super tutorial here from Jaime at Prudent Baby. It was my kind of tutorial – clear, straight forward and easy to follow.

Fat Quarter apron

Fat Quarter apron

Australian print apron

Australian print apron


Blue Aussie Pinny

Blue Aussie Pinny

I have to admit I was very happy with the results and you really can make them in about half an hour! I was especially happy because the fat quarters I am using for the aprons were some very cheap ones I picked up at a craft show about 6 months ago (just because I didn’t want to come home empty handed)!

'Waltzing Matilda' fabric

‘Waltzing Matilda’ fabric

but they weren’t anything I would normally use in quilting. However they seemed to be just perfect for little pinnies and the blue one with its ‘Walzting Matilda’ motif and kangaroo would be ideal for a small overseas gift me thinks!

Then I decided I would have another go at the cat pattern I made some time last year as I had some lovely retro fabric I fancied using and this was the result:

Retro cat!

2013-03-15 15.42.50

Then I couldn’t resist taking one with his friend:

Retro cats together

Retro cats together

Zippity doo dah (facing my fears)!

Standard

I wrote last week about my struggles to get back into the creative swing of things and received some lovely uplifting responses – thank you one and all!

I thought it would be a good idea to try something new and also something I have had a slightly irrational fear over….. yes, the dreaded zip! I don’t think I’m alone in this avoidance of all things zippy from what I was reading on the net and hearing from friends so I took courage in both hands and went in search of a nice easy tutorial.

I found what I was looking for here at the lovely Sew Delicious blog. Ros is the very talented author of the blog and her pictures and instructions were so clear, I didn’t even feel scared!!

If you haven’t been there already, I can seriously recommend her blog.

Well anyway this is what I came up with first of all:

small zip pouch

small zip pouch

I really like the fabric and kept wondering what I should do with it as it is quite a heavy duty cotton. I kept thinking bags of some sort but I didn’t have any large pieces so anyway I got quite into the swing of things and made a few more.

slightly larger zip pouch

slightly larger zip pouch

I thought this would make a nice girly penci case and although my German is somewhat rusty I believe it says: “The World’s lovliest countries”

pencil case - boy fabric

pencil case – boy fabric

yes I know I shouldn’t say ‘boy’ and ‘girl’ fabric but I do think one is more masculine than the other.

zip pouches en mass

zip pouches en mass

As you can see, once I started I just wanted to keep going. Now I have to go and buy some more zips!